
← The Journal
Seed Starting with Soil Blocks
Bird & Bees Help Plants Make Seeds
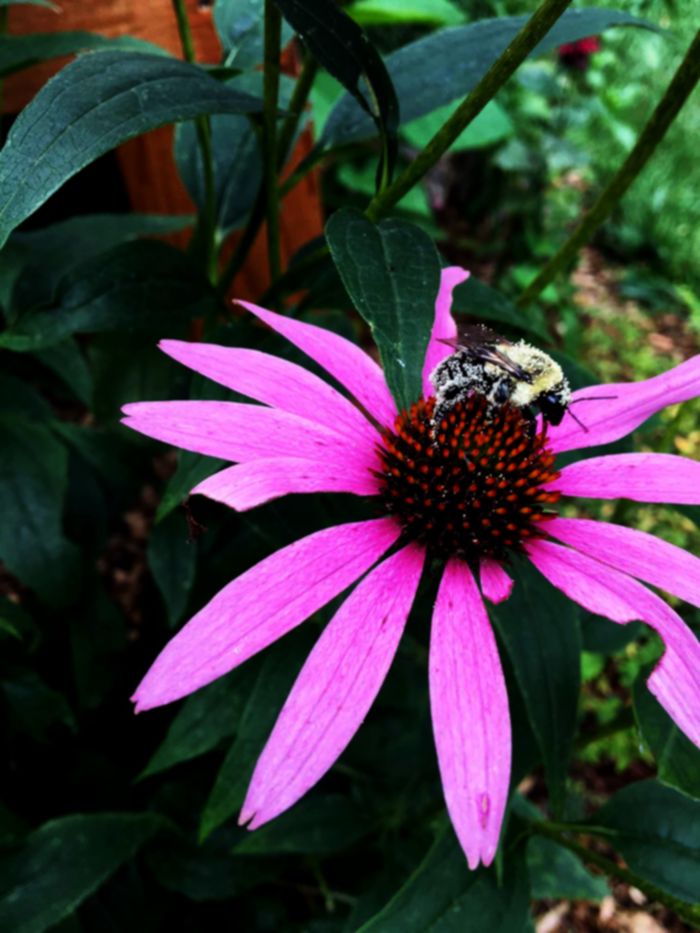
Seeds are the result of successful sexual propagation in flowering plants. It begins when sperm (pollen) from the Anther of the male anatomy makes contact with the Stigma in the female anatomy, thus combining the genetic material. Because flowers can't hop off their stems to go make out in the mulch somewhere they rely on a third-party fertilization team collectively known as pollinators. Pollinators include flies, bees, wasps, ants, birds, mammals, and even the wind. Flowers have many different techniques for attracting the pollinators most likely to succeed in the process - flower color, flower shape, flower physics, petal surface, scent, bloom behavior (night vs daytime) are just some examples. An interesting example is seen in bees whose visual colors are based on blue, green, and ultraviolet spectrum with some orange and yellow, but no red. Their world involves iridescence and other colors we simply cannot see. The flower uses this to its advantage - creating ultraviolet landing pads that direct the bee straight into the pollen and nectar. A perfect example of reciprocation in motion - the bee receives pollen and nectar to sustain its species while the flower's stigma receives the transport of pollen to sustain its species.
If pollination is successful a flower will form the seed until its lifecycle completes or it will form a fruit - like a tomato for example which holds the seed until it is released through decay or distribution by mammals, wind, or insects. Generally humans select and collect the seeds from flowers or fruits which are superior in quality, resiliency, flavor, beauty, or any other attractive quality one can think of. Mix in business and marketing and now you have a seed packet ready for distributing between humans. Wild, eh?
Seed anatomy & acquisition
The seed is made up of a protective outer layer called the seed coat, an embryo, and an endosperm. The endosperm contains all the nutrients the seed embryo needs to begin life after germination.
Things to consider when shopping for seeds:
- Open pollinated: self or cross-pollinated by wind or insects; good seed suppliers will ensure that the plant type was isolated from different varieties in order to produce seed that is "true to type".
- Hybrid: the intentional cross pollination between similar plants that results in unique characteristics
- Informative seed packets will tell you the year the seed was packaged, the rate of germination as seen in their viability testing, days to maturity, planting depth, common and scientific names, and indication of any chemical seed treatments.
- By selecting seeds and varieties that are local to your region they'll be more adapted to the climate and less challenging to grow. There are many excellent small seed companies around the country.
You can also save your own seeds, but it is an art in and of itself and if you're hoping to have plants that are "true to type" you'll want to study up on variety isolation, drying, handling and storage, and various techniques associated with it. There are many great books you can look for at your library or online that can help you get started.
Starting seeds
Seeds need water, air, sunlight, soil and warmth to grow into strong and healthy plants. In most cases water and warmth is enough to break the dormancy cycle but there are some seeds that need to be scarified to break the seed coat, stratified (given time in moist, cold conditions before going on heat), or exposed to light. Reading about the variety you have beforehand will give you an idea of where to start before getting out the potting mix.
These are the tools and materials I use to start my seeds:
- Soil blocker
- All-purpose organic potting mix
- Charcoal (optional)
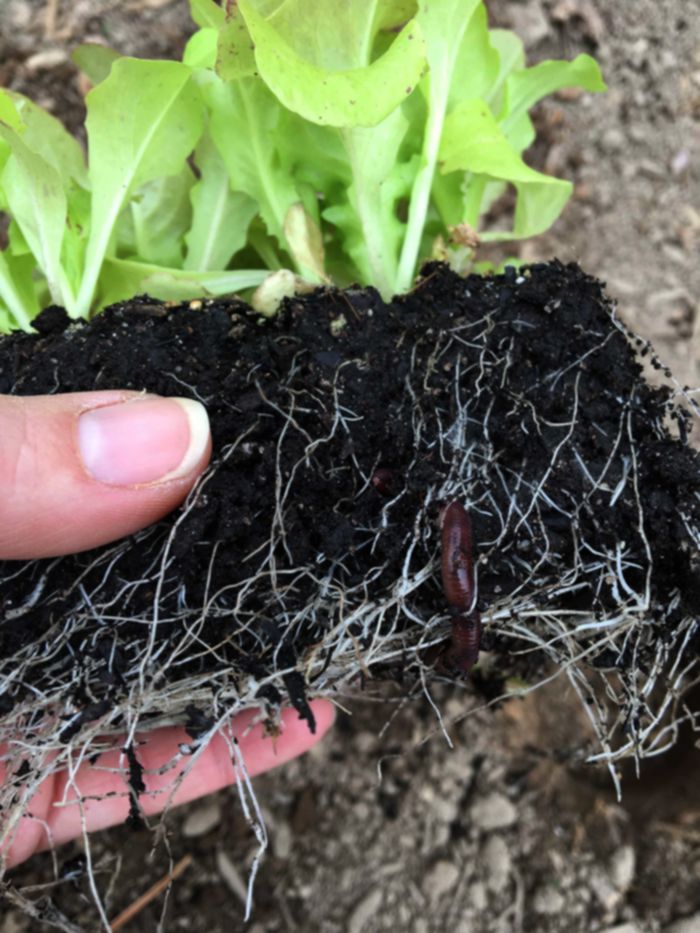
- Worm castings (optional but recommended)
- Non-chlorinated water
- Heat mat for germination
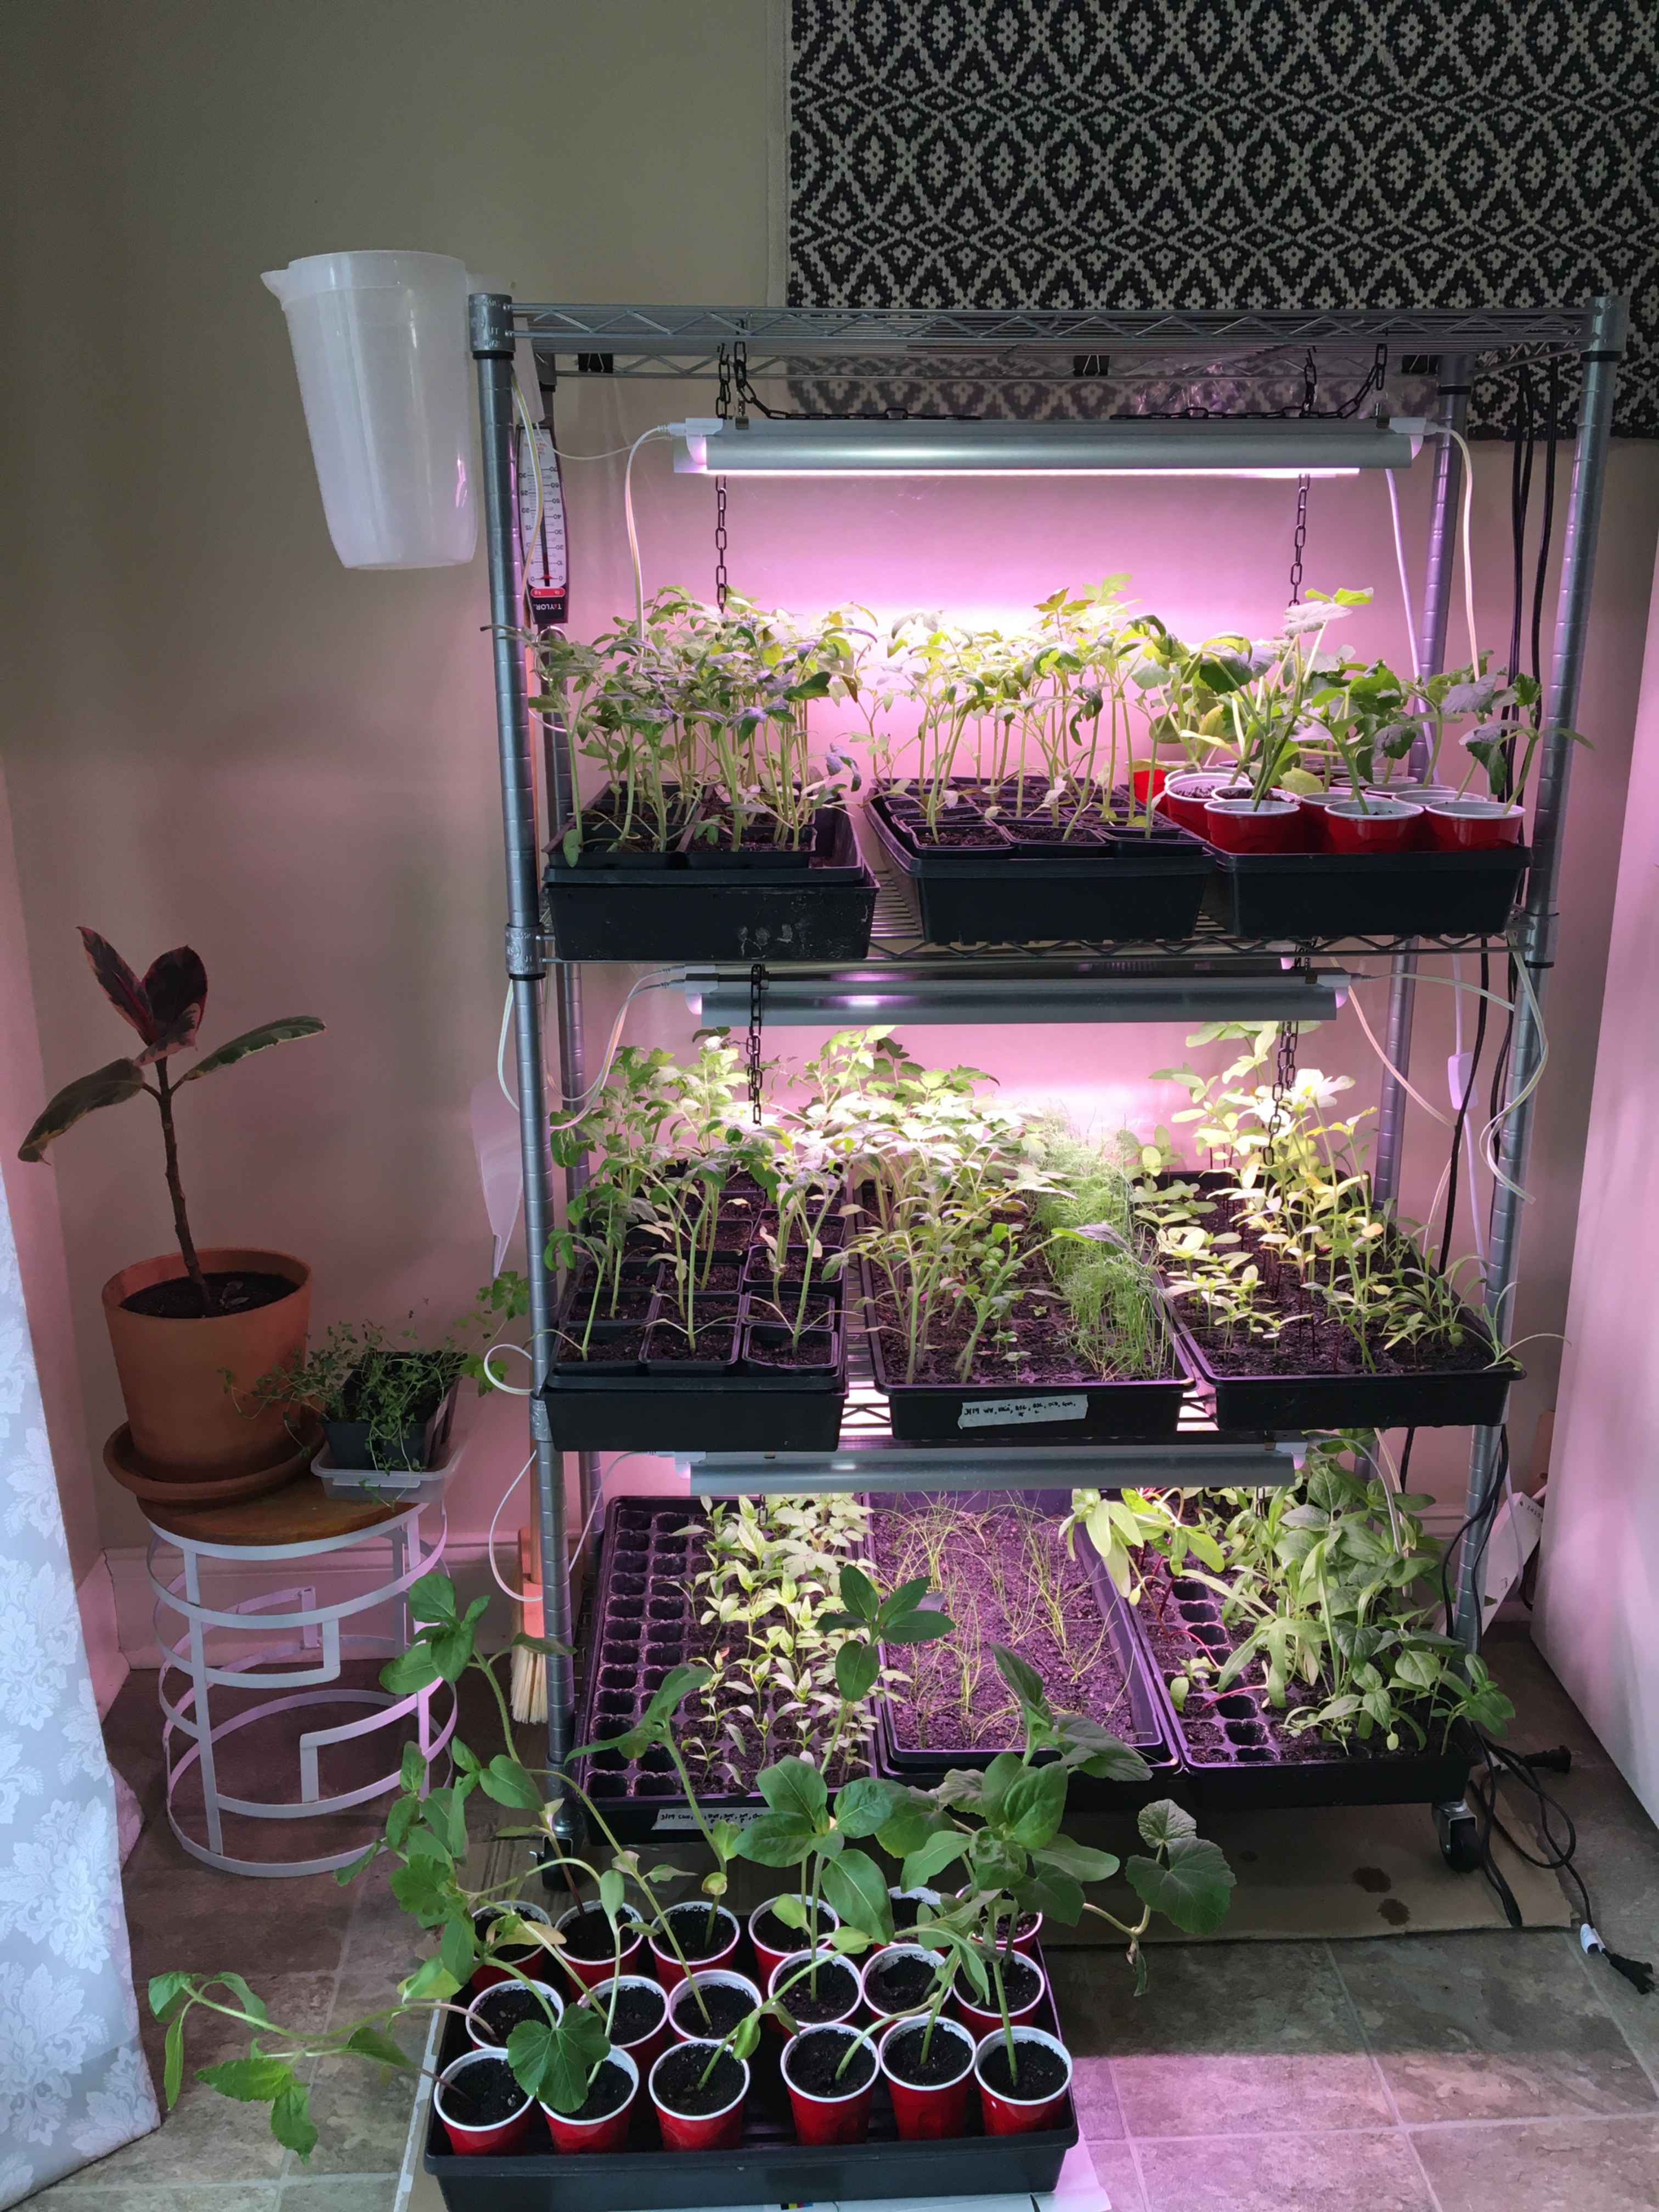
- LED full-spectrum grow lights (Using a southern-facing window is an optional alternative but is far less reliable and having done both methods I highly recommend against it.)
- Metal shelving unit as propagation station
- Solid bottom trays (optional; use anything you have on hand - cookie sheet, recycled plastic bins, tote lid, etc.)
Because of the endosperm you do not need to supply seeds with fertilizer, however I have found that by adding the worm castings at the very beginning of the process the plants grow stronger, faster, and are more resilient over the course of the season.
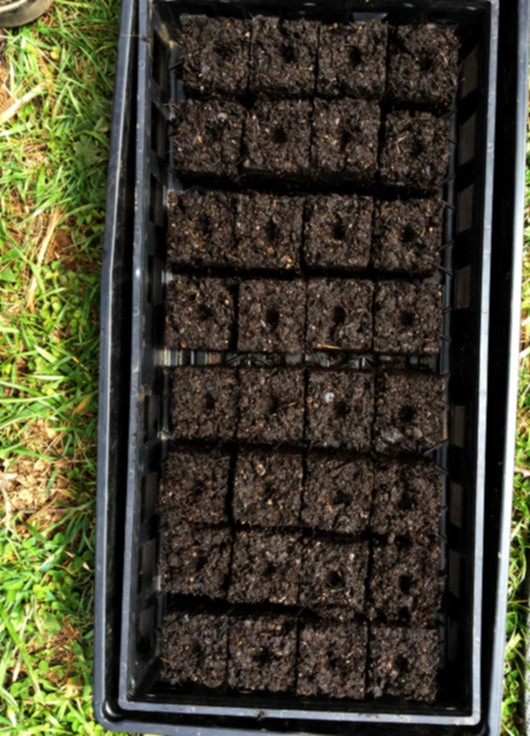
In this video I show the process of making soil blocks.
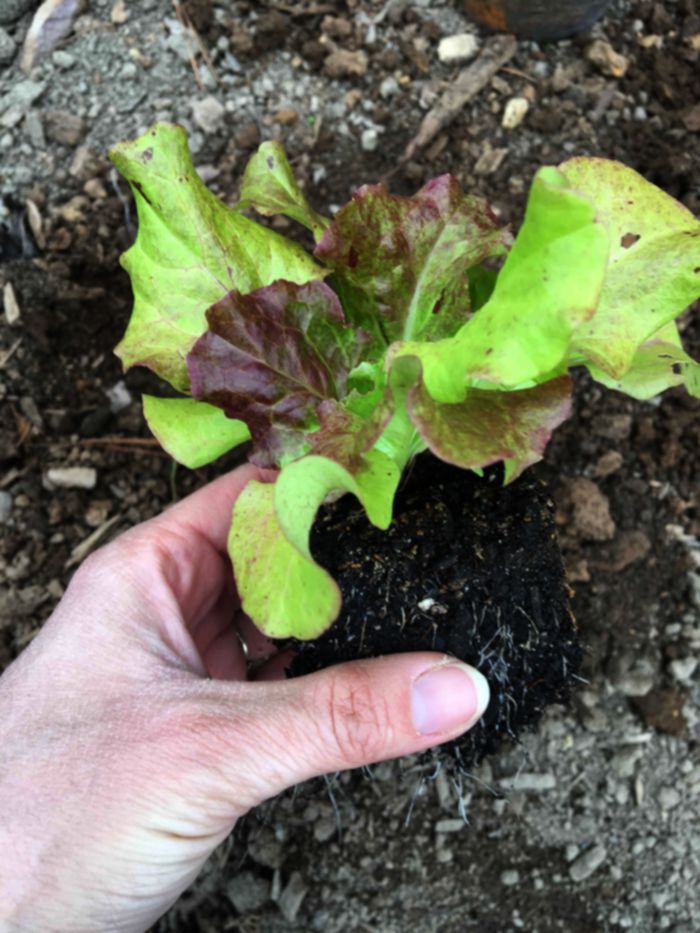
Soil blocking reduces plastic waste and the expenses associated with purchasing cell trays and pots. I have worked with both cell trays and soil blocks and can say with certainty that blocking is my preferred method. The plants grow exceptionally well and transplant without fuss. I also just enjoy the process of block making and find the seedlings easier to care for overall.
Regarding water - if you are on municipal water you can add humic acid to the water before mixing it in which will neutralize the chlorine and chloramine. If you have a worm bin the leachate is humic acid, if you don't then you can make humic acid by running water through finished compost and collecting the result.
For most herbs and vegetables these are the steps you'll want to take after making and planting the soil blocks:
- Place the tray of planted soil blocks on a heat mat
- Once seeds have germinated remove from heat mat. Leaving heat at the bottom beyond germination can result in 'leggy' growth. At germination you will see (in dicots anyway) two embryonic leaves known as cotyledons at the top of a single stem.
- Place under grow lights
- Keep air moving around the plants, particularly if your indoor humidity is on the high end. Make sure plants are spaced so that air can move freely around them. The central fan in an HVAC system provides plenty of air movement if shelving unit is placed near to a vent.
- Water as needed. Blocks should be allowed to dry 60-70% between waterings. This will help prevent fungus gnats and a fungal condition known as dampening off.
- When the plants have two sets of true leaves (adult leaves) begin the process of hardening off.
Your seedlings should be growing upright with leaves a bright healthy green at all times. Soil should be allowed to partially dry out between waterings which will help reduce the chances of disease and root rot. The ambient room temperature should be 68°F or higher with moderate humidity. Generally speaking a comfortable home environment is suitable to growing most vegetable and herb plants. It's all about striking the right balance between moisture and temperature and avoiding extreme fluctuations in either.
Planning, Hardening off, and Transplanting
It's important to plan ahead when starting seeds so that your plants are ready to go in the ground at the right time for your area. Spring, summer, and fall crops all have different planting times - you can reach out to your local extension agent to get a list of planting dates for each crop for your hardiness zone. When you have a date in mind to put the plant in the ground you can count back 6 weeks and that is when you will start your seed. For example, if I want to plant tomatoes on May 1st I will start my seeds in mid-March. In the growing conditions I have listed here it almost always takes vegetables about 4 weeks to go from seed to two sets of true leaves which gives me 2 weeks to harden them off before planting.
Hardening off is a term that basically means that the seedlings have adapted to sun, rain, wind, shadows, and the changing temperatures that occur in nature. The easiest way to harden off is to set the tray of seedlings in the shade on the northwest side of your house, ideally on an overcast day, either early in the morning or in the afternoon. The northwest side of the house gives them a natural gradual exposure to the sun which helps reduces the chances of leaf burn early on. Avoid putting them out in heavy storms or gusting winds. I generally leave them outside from this point forward unless evening temperatures get below 50°F, storms are predicted, or the sun and heat become too extreme. Row cover, cold frames, or a greenhouse are also useful in this process but are not required. Just be mindful of the conditions and respond accordingly. When in doubt bring them back indoors until conditions become less extreme. I allow 2 weeks for this process but have gotten away with less. Soil blocks also drastically reduce transplant shock which occurs when they are not hardened off adequately.
When transplanting make sure that you are doing so at the right time for your area - this is one of the most overlooked factors in vegetable gardening and is critical for both plant success and pest management. Plant into a prepared garden bed under the correct conditions - healthy, cultivated soil, full sun, good drainage, etc. and water sufficiently. I generally use a Mycorrhizael inoculant at the time of planting which helps the plants receive and transfer nutrients and water more efficiently.
Now that they're in the ground you'll want to water regularly, still allowing the roots to dry out some before watering again. Plants do best when watered at the base rather than overhead. For this reason drip irrigation is a resource well worth investing in. The comparison between plants on drip and on daily hand watering is significant both in fruit yield and overall health. Our commercial quality drip irrigation system cost around $200 and has greatly improved our yields while reducing our water consumption.
There's a lot that goes into starting seeds but it is a skill that cannot be replaced on the homestead. It will save you thousands in the costs of plants and is the true experience of food sovereignty. Learn through doing, make mistakes, and keep trying. Every season is different and plants have their own unique needs and requirements - experience is the only way to get good at dancing through all the different variables that come along with growing.